Should you buy the Canon RF 24-70mm f2.8L IS USM? 

The Canon RF 24-70mm f2.8L IS USM is one of the best versatile lenses in the Canon RF ecosystem but with a hefty price tag. And for sure… there are a couple of other lenses in the RF lineup that also offer a lot of flexibility. So is the 24 - 70 actually worth your money?

Let’s break it all down: the features, the performance, the image quality, and whether this lens is the right investment for your kit.

THE BASICS

The Canon RF 24-70mm f2.8L IS USM is part of Canon’s trinity of professional zoom lenses for the RF mount. That includes the 15-35mm, the 24-70mm, and the 70-200mm. All with constant f2.8 apertures.

And yes. This lens covers a very versatile focal length range. 24mm for wide shots, up to 70mm for portraits or tight framing. So it’s basically ideal for a variety of photo and video genres: including weddings, travel, events, street photography and even product or commercial work.

For sure… it's not super lightweight, but not too heavy, especially when paired with a Canon R5 for example.

On top it’s weather-sealed, built like a tank, and comes with image stabilization. So if you also combine it with IBIS compatible RF bodies it's just fantastic.

BUILD QUALITY AND HANDLING

If you’re investing over two thousand dollars in a lens, build quality matters. And yes Canon delivers. The RF 24-70mm f2.8L feels like a flagship lens.

You’ve got a nice zoom ring, a customizable control ring, and a focus ring with just the right amount of resistance. There are also switches for AF/MF and IS on/off. Both easy to reach while shooting. And because this is an L-series lens, you get the typical weather sealing. That means you can shoot in more challenging conditions without having any issues. But how does it perform?

AUTOFOCUS PERFORMANCE

The Autofocus on the RF 24-70mm f2.8 is lightning fast. Canon’s AF is super silent, which makes this lens an excellent choice for video as well. For a long period of time this was my go to lens for video until I’ve made the switch to the RF 35mm f1.4 VCM prime lens.

Face and eye detection on the R5 and C70 works seamlessly with this lens. It also handles low light really well thanks to that f2.8 aperture. Sure if you mostly use fast prime lenses like a 35mm f1.4 you will definitely notice the difference but if you are looking for a versatile lens that you can use to get the job done - the RF 24 - 70 is just fantastic.

For video shooters, the autofocus transitions are smooth, and you won’t hear any mechanical noise in your footage. Even in tricky lighting or with moving subjects, you won't have any issues.

IMAGE QUALITY

Let’s talk image quality next. Because that’s where this lens really shines. From 24mm to 50mm up to 70mm you get excellent sharpness even wide open at f2.8. Sure stopping down to f4 or f5.6 sharpens it even more, but honestly, it’s already impressive at 2.8.

Especially that longer end of the zoom range gives you a beautiful compression, natural bokeh, and incredible results. I’ve personally used this lens in all kind of situations from street photography, events, or quick portraits and it just works. For a zoom lens, the bokeh is surprisingly creamy and pleasant. Sure. It won’t replace a prime like the RF 85mm f1.2, but for a zoom? It’s absolutely excellent. Next to the RF 24 - 105mm the 24 - 70mm gives you the flexibility you need to get the job done. 

VIDEO PERFORMANCE

Now if you’re a hybrid shooter or a dedicated videographer, the RF 24-70mm f2.8 is also a great choice. As I’ve already mentioned: I’ve used this lens for a long period of time to record all kind of videos here for this channel. Until I’ve started to buy more prime lenses like this RF 35mm because yeah… I just love the 35mm look. 

First, that constant aperture is a huge win. You don’t have to deal with exposure shifts as you zoom in or out.

Second, image stabilization. Especially if you combine it with a camera that features IBIS it makes things so much easier. In combination the Autofocus in the video mode is smooth and silent, with a reliable subject tracking.

And because it covers such a versatile range, you can use this lens for talking head interviews, b-roll, documentary work, YouTube videos and more.

WHO IS THIS LENS FOR?

Now the big question: who should actually buy the Canon RF 24-70mm f2.8?

If you’re a photographer who don’t want to switch lenses all the time or if you want to make it as easy as possible for you to cover a wide range of options, this is not just a good lens — it’s one of those perfect options for your kit. You can cover wide group photos, emotional nature shots, stunning street photography all without switching glass. Its versatility means less time fumbling with gear and more time capturing the moments that matter. And in fast-paced environments, speed, flexibility, and reliability are everything.

For those shooting corporate work, live events, or fast-moving documentary-style productions, this lens is also a great choice. Especially if you’re often working under pressure, in uncontrolled lighting, or tight schedules you need gear that won’t slow you down. The RF 24-70mm f2.8 gives you that professional-grade autofocus, a decent low-light performance and stabilization that helps you deliver consistent results without compromise.

Travel photographers and content creators will also appreciate how much gear this one lens can replace. Whether you're capturing cityscapes at 24mm, shooting food or lifestyle shots at 50mm, or isolating subjects with background separation at 70mm, this lens has your back. You get the freedom to adapt instantly, making it a great choice to get the job done.

And for Video shooters: whether you're making YouTube content, client interviews, music or even hybrid photo/video projects — you can absolutely pick up this lens. Its smooth focus transitions, minimal breathing, and excellent image stabilization make it ideal for handheld shooting.

But what if you’re new to photography or video?

Here’s where you need to make a decision. If your budget allows it and you want a lens that can grow with you…one you won’t need to replace for some time is the RF 24-70mm f2.8. It’ll outperform a lot of starter lenses all in one package. Sure a 50mm f1.8 is way way cheaper and I can still recommend the good old nifty fifty but especially as a beginner you should set your focus on light, composition and understanding your camera and not on buying new gear all the time.

On the other hand, if you’re still learning your style, building your skillset or saving for your next big upgrade, there are some other entry points. The RF 24-105mm f4L offers excellent versatility at a lower cost and the even more affordable RF 24-105mm f4-7.1 STM can help you get started without breaking the bank. If you’re considering primes something like the RF 35mm f1.8 or the RF 50mm f1.8 will give you better low-light options and a more dramatic depth of field. But they aren’t versatile and you’ll need to carry multiple lenses. But gladly Canon’s RF ecosystem is growing and there’s room to scale up as your needs evolve.

So at the end of the day: if you need professional performance now and can justify the cost, the RF 24-70mm f2.8 is absolutely worth it.

THE PRICE

Currently the Canon RF 24-70mm f2.8L IS USM sells for around 2,500 euro. Is it expensive? Absolutely. And I can highly recommend to wait for some cashback options. But here’s the thing: You’re getting a couple of lenses in one. A wide-angle, a standard, and a short telephoto. You’re getting professional image quality, great autofocus, great low-light performance, and a rock-solid build quality.

If you’re a working professional, this lens pays for itself very quickly. Also, don’t forget the used market. You can often find this lens at a lower price point in excellent condition.

So, should you buy the Canon RF 24-70mm f2.8? If you’re a professional photographer or filmmaker looking for a reliable workhorse lens the answer is: It's a great choice.

If you’re a serious enthusiast who wants the best of the best the answer is also: It's worth it.

If you’re a beginner on a tight budget: Maybe not yet. But keep it on your wishlist because this lens could be your future go-to.

It’s not just a great lens. It’s one of the best all-around lenses in Canon’s RF lineup. So yes — it’s expensive. But is it worth it? Absolutely.

Alright. Today let’s talk about “How To Shoot Moving Objects with any Camera – Freeze Motion Photography”. I want to share a couple of tips & tricks with you guys that I use all the time to take photos and they always helped me to get good results.

Whenever I want to take a photo there are a couple of things that determine if the photo will be sharp or unsharp. And here I’m mostly talking about settings like ShutterSpeed, Aperture and your Focus-Settings. But of course it also depends on your key element as well – so if it moving around or not. 

ShutterSpeed
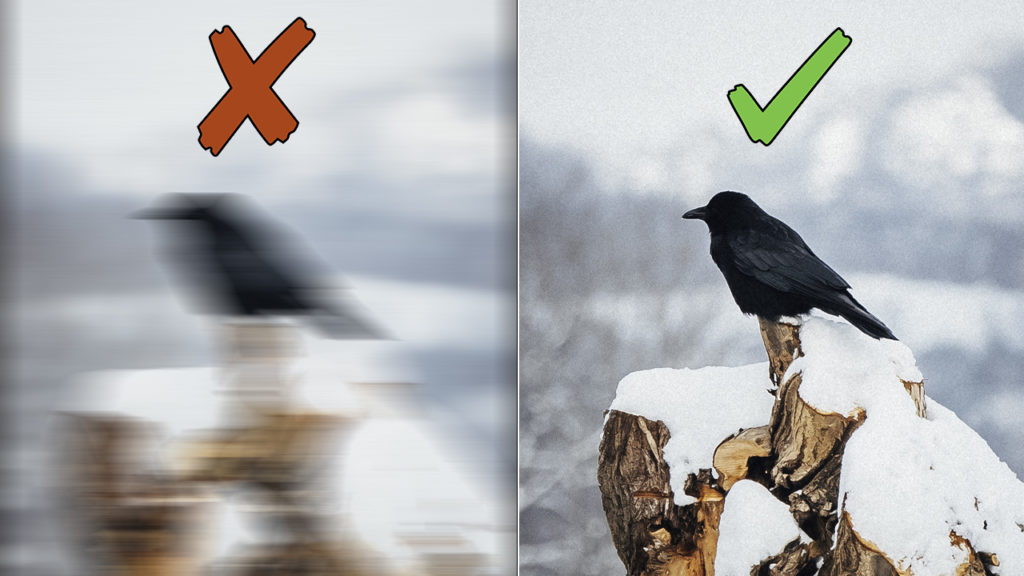
And First let’s talk about the ShutterSpeed. That is the biggest topic and in most cases you can easily get better results by simply using the right settings. So yeah: If you want to take a photo you need to use the right ShutterSpeed settings because especially the wrong shutter speed can lead to blurry images really fast. And the reason why this always happens is: That your camera simply needs way too much time to take the photo if your shutter speed is too slow. 

The question that you need to answer is: What is the best Shutter Speed setting to freeze the motion.

And Of course Especially if you shoot handheld you can’t hold your camera perfectly still, so thats why you need to use a faster shutter speed to compensate this so called “camera shake movement”. And the basic idea here is to set up your minimum shutter speed in combination with your focal length. So if you use a 35mm lens. Your shutter Speed shouldn’t be under 1/40. If you use a 100mm lens your minimum setting should be at 1/100 a sec. 

But actually thats just the basic rule. This won’t work all the time and that’s why you need to use way faster ShutterSpeed settings especially if you use a heavy lens – like a 70-200 – or if your key element is moving around. In most cases when I take photos handheld I start at around 1/125 if it’s a little bit windy for some basic photos using the 35mm. But if I take photos of fast moving objects I mostly use way faster shutter speed settings. For example 1/1000 a sec because you always need to freeze the motion in these situations to avoid the problem that your camera needs way to much time to capture the moment while your key-element is still moving around.
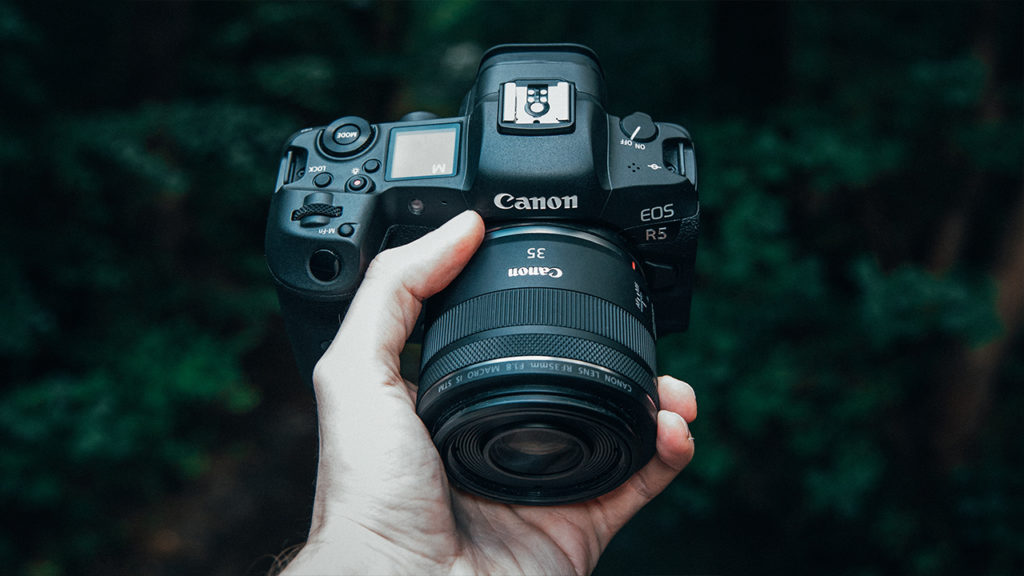
So before I start to take photos I always check what kind of photos I want to take. If the key element is moving around I know that I need to use a fast shutter speed. But if I take photos of stills I can use way slower shutter speed settings because there is less movement in the frame. So if you want to practice that my tip here is: Simply start with a basic setup and take a test shot to make the right adjustments. As an example. It’s a windy day and you want to take some close ups of those leafs in the forrest. Start with let’s say 1/400 for a test shot. Next switch to the preview and zoom in to see if you need to use a faster shutter speed or if you can even use a slower shutter speed. In the end if you do that over and over again you will find some best practices or let’s say good starting points for a variety of situations. And that makes it possible to find the right settings for each scenario way faster. So yeah in the end you just need to practice that a little bit but as soon as you find these best practices for your own workflow you will take much better photos and you will get sharp results way faster.

Focus
Another really important topic is the focus. And here it depends on your key element. In most cases I use the Single-Dot-Auto-Focus Mode. Especially for nature photography that is in my opinion one of the best ways to set up the focus because you have full control and you always know which element will be in focus. But of course if you take some portraits of some people for example you can easily use something like the Eye-AutoFocus to make it as easy as possible for you nail the focus. So what I highly recommend is to not just stick to one mode because obviously there is a reason why there are multiple modes for specific shooting scenarios. But one of the most important things is to learn to use the Manual Focus as well. Because sometimes it can happen that the Auto Focus won’t detect your key element even if you use the Single Dot Focus to select it. I had multiple situations where the AutoFocus tried to set the focus on something else and thats why I simply switched to manual to set it up on my own. So never rely completely on these AutoModes. You should always know how to set it up on your own.
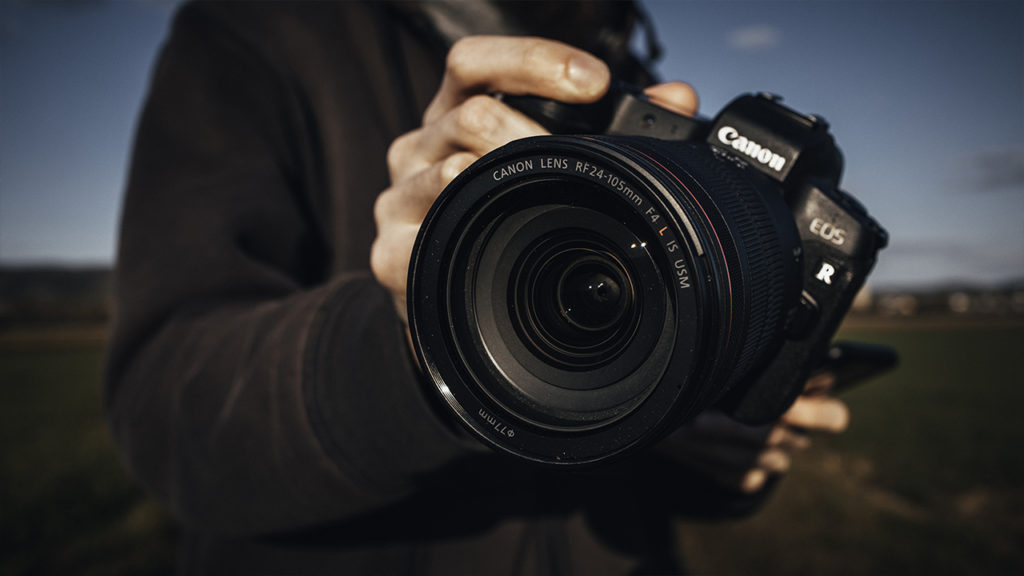
Aperture & ISO
But now let’s move on with another tip and the next tip that I want to talk about is Aperture. Of course if you use a fast ShutterSpeed it will make your overall image darker and in most cases you try to compensate that by adjusting the Aperture to make the image brighter again. But an Aperture of 1.8 for example can increase the bokeh in your image as well and less elements are in focus. So it is actually possible that parts of your key element won’t be in focus anymore which can be really bad. So if you notice something like that you need to increase your Aperture settings to get your key element completely back in focus. But if you use a fast ShutterSpeed and a high f-stop these settings will make your image darker again. So especially in low light situations these settings can create some problems and thats why we need to talk about ISO next. Of course a lot of people say that you shouldn’t use high ISO settings because it causes noise in your images. And yes thats possible but the main phrase here is: “Only use that much ISO that you need to take the photo”. And exactly thats it. That doesn’t mean that you can’t use higher ISO settings to compensate your Shutter Speed and Aperture settings. In the end you need to get the shot and if that means that you need to use higher ISO settings thats absolutely fine. So don’t be afraid to increase your ISO settings especially if it makes it easier for you to get a better shot.
Gear
And last but not least we need to talk about gear. And of course good gear is always helpful to get good results. But one of the most important things isn’t your camera. It’s actually your lens. Because if you have a high end camera and pair it with some cheap lenses the image quality won’t be the best. But if you use some high-end glas with a Canon 80D, EOS R or whatever you can get way better results. And yes in the end that makes it way easier for you to take better photos because if the input quality is already bad you won’t get better results just because your camera body is really expensive. So what I always recommend is to choose a mount that you want to use for a long period of time, start with a basic camera body and spend most of your budget for high quality glas. And later on you can upgrade your camera body if you need specific features.

Stay Frosty!

——————

Lightroom Presets & Templates: https://shop.digitalabsorption.de/

➥ Subscribe On YouTube ⇢ https://bit.ly/2Bn7aaq

➥ Follow me on Instagram: https://www.instagram.com/petersen.bjoern/

➥ Follow me on Twitter: https://twitter.com/DigitalAbsorpTV

➥ Join The Community! : https://www.youtube.com/channel/UCM90T8-vToWkw-l4_MpHsfw/join

Gear:

● My Main Camera : https://amzn.to/30sGZMD *

● My Second Camera : https://amzn.to/2Ljw7bv *

● Perfect Camera To Get Started : https://amzn.to/2UgcXrj *

● Microphone 1: https://amzn.to/2ZDPUYg *

● Microphone 2: https://amzn.to/2ZEVFoO *

● Microphone 3: https://amzn.to/2zw1gTF *

● Interface: https://amzn.to/2NJN8yv *

● Monitor: https://amzn.to/2NMcjkd *

● Headphone: https://amzn.to/2UhPGFd *

● Softbox: https://amzn.to/2L7O26m

● Cheap Smartphone Tripod: https://amzn.to/2MMfSXT *

● Cheap DSLR Tripod: https://amzn.to/2HxuciM *

● Drone : https://amzn.to/2NHWv1C *

● GoPro Hero 7 Black : https://amzn.to/3eZ6oT9 *

● GoPro Chesty : https://amzn.to/2AfcJuL *

● RF 35mm : https://amzn.to/2zUs4xa *

● RF 24-105mm : https://amzn.to/2PPFCoA *

● EF 50mm : https://amzn.to/34mUOg9 *

● EF 18-55mm : https://amzn.to/2UI2wgx *

● EF 10-18mm : https://amzn.to/2POPFKw *

● Tamron 70-300mm : https://amzn.to/34wudxl *  

● Additional Music : https://artlist.io/Bjoern-1377240 *

*Affiliate-Link Disclaimer: As an Amazon Associate I earn from qualifying purchases. Some of these links are affiliate links where I’ll earn a small commission if you make a purchase at no additional cost to you.

➥ My Company: https://blackcorecompany.com/

Video prod. by BlackCore Company

If there are any problems with the Video feel free to contact me

3
  • Item added to cart
3
Your Cart
Products you might like
    Apply Coupon