
Alright. Today let’s talk about “How To Shoot Moving Objects with any Camera – Freeze Motion Photography”. I want to share a couple of tips & tricks with you guys that I use all the time to take photos and they always helped me to get good results.
Whenever I want to take a photo there are a couple of things that determine if the photo will be sharp or unsharp. And here I’m mostly talking about settings like ShutterSpeed, Aperture and your Focus-Settings. But of course it also depends on your key element as well – so if it moving around or not.
ShutterSpeed
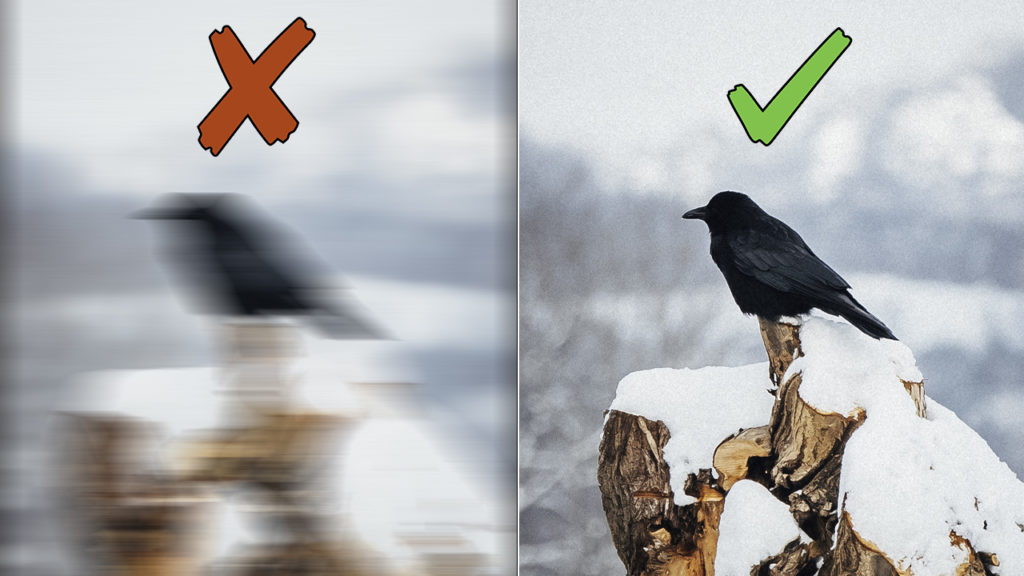
And First let’s talk about the ShutterSpeed. That is the biggest topic and in most cases you can easily get better results by simply using the right settings. So yeah: If you want to take a photo you need to use the right ShutterSpeed settings because especially the wrong shutter speed can lead to blurry images really fast. And the reason why this always happens is: That your camera simply needs way too much time to take the photo if your shutter speed is too slow.
The question that you need to answer is: What is the best Shutter Speed setting to freeze the motion.
And Of course Especially if you shoot handheld you can’t hold your camera perfectly still, so thats why you need to use a faster shutter speed to compensate this so called “camera shake movement”. And the basic idea here is to set up your minimum shutter speed in combination with your focal length. So if you use a 35mm lens. Your shutter Speed shouldn’t be under 1/40. If you use a 100mm lens your minimum setting should be at 1/100 a sec.
But actually thats just the basic rule. This won’t work all the time and that’s why you need to use way faster ShutterSpeed settings especially if you use a heavy lens – like a 70-200 – or if your key element is moving around. In most cases when I take photos handheld I start at around 1/125 if it’s a little bit windy for some basic photos using the 35mm. But if I take photos of fast moving objects I mostly use way faster shutter speed settings. For example 1/1000 a sec because you always need to freeze the motion in these situations to avoid the problem that your camera needs way to much time to capture the moment while your key-element is still moving around.
So before I start to take photos I always check what kind of photos I want to take. If the key element is moving around I know that I need to use a fast shutter speed. But if I take photos of stills I can use way slower shutter speed settings because there is less movement in the frame. So if you want to practice that my tip here is: Simply start with a basic setup and take a test shot to make the right adjustments. As an example. It’s a windy day and you want to take some close ups of those leafs in the forrest. Start with let’s say 1/400 for a test shot. Next switch to the preview and zoom in to see if you need to use a faster shutter speed or if you can even use a slower shutter speed. In the end if you do that over and over again you will find some best practices or let’s say good starting points for a variety of situations. And that makes it possible to find the right settings for each scenario way faster. So yeah in the end you just need to practice that a little bit but as soon as you find these best practices for your own workflow you will take much better photos and you will get sharp results way faster.
Focus
Another really important topic is the focus. And here it depends on your key element. In most cases I use the Single-Dot-Auto-Focus Mode. Especially for nature photography that is in my opinion one of the best ways to set up the focus because you have full control and you always know which element will be in focus. But of course if you take some portraits of some people for example you can easily use something like the Eye-AutoFocus to make it as easy as possible for you nail the focus. So what I highly recommend is to not just stick to one mode because obviously there is a reason why there are multiple modes for specific shooting scenarios. But one of the most important things is to learn to use the Manual Focus as well. Because sometimes it can happen that the Auto Focus won’t detect your key element even if you use the Single Dot Focus to select it. I had multiple situations where the AutoFocus tried to set the focus on something else and thats why I simply switched to manual to set it up on my own. So never rely completely on these AutoModes. You should always know how to set it up on your own.
Aperture & ISO
But now let’s move on with another tip and the next tip that I want to talk about is Aperture. Of course if you use a fast ShutterSpeed it will make your overall image darker and in most cases you try to compensate that by adjusting the Aperture to make the image brighter again. But an Aperture of 1.8 for example can increase the bokeh in your image as well and less elements are in focus. So it is actually possible that parts of your key element won’t be in focus anymore which can be really bad. So if you notice something like that you need to increase your Aperture settings to get your key element completely back in focus. But if you use a fast ShutterSpeed and a high f-stop these settings will make your image darker again. So especially in low light situations these settings can create some problems and thats why we need to talk about ISO next. Of course a lot of people say that you shouldn’t use high ISO settings because it causes noise in your images. And yes thats possible but the main phrase here is: “Only use that much ISO that you need to take the photo”. And exactly thats it. That doesn’t mean that you can’t use higher ISO settings to compensate your Shutter Speed and Aperture settings. In the end you need to get the shot and if that means that you need to use higher ISO settings thats absolutely fine. So don’t be afraid to increase your ISO settings especially if it makes it easier for you to get a better shot.
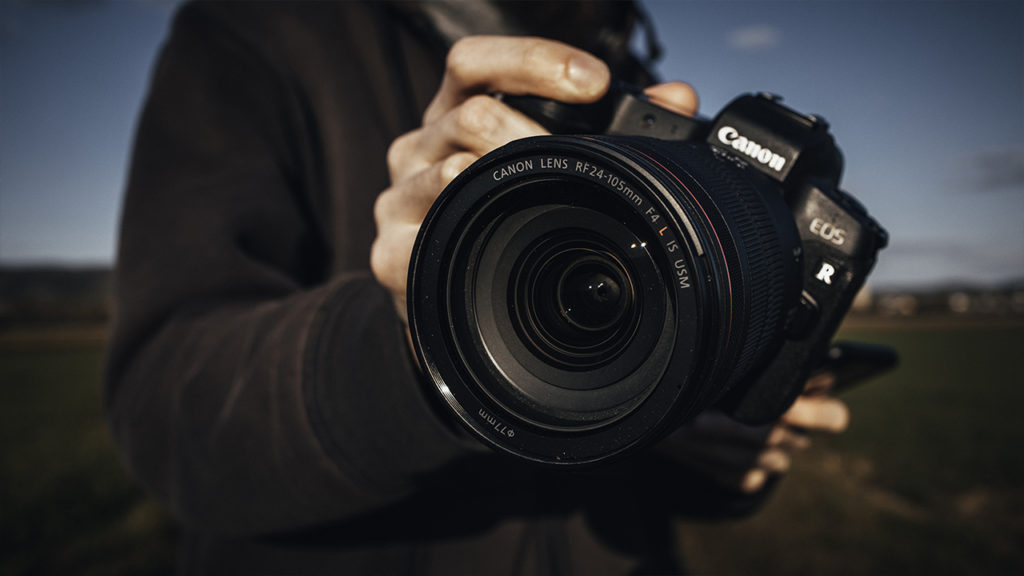
Gear
And last but not least we need to talk about gear. And of course good gear is always helpful to get good results. But one of the most important things isn’t your camera. It’s actually your lens. Because if you have a high end camera and pair it with some cheap lenses the image quality won’t be the best. But if you use some high-end glas with a Canon 80D, EOS R or whatever you can get way better results. And yes in the end that makes it way easier for you to take better photos because if the input quality is already bad you won’t get better results just because your camera body is really expensive. So what I always recommend is to choose a mount that you want to use for a long period of time, start with a basic camera body and spend most of your budget for high quality glas. And later on you can upgrade your camera body if you need specific features.
Gear: